A couple years back, as part of our "Accidental Kitchen Remodel" I decided to paint our old, beige, came-with-the-house fridge with green chalkboard paint.
Since then, astonishingly (or not, depending on what astonishes you) that has been one of the most heavily trafficked posts on ye olde blog!
Which gives me a feeling that's equal parts gratitude, shame, and regret.
Why?
Which gives me a feeling that's equal parts gratitude, shame, and regret.
Why?
Well, that was not the greatest DIY post I've ever done. The camera we had at the time that I had taken pictures of the process with crapped out on us and so there weren't really any pictures of the process.
So, the other day when I was making a list of little things that I need to do and I noticed that the fridge needed some attention, I thought it would be the perfect opportunity to talk about how this really simple and super cheap ($7) DIY chalkboard fridge has held up over the past two years.
So, here's what it looks like today:
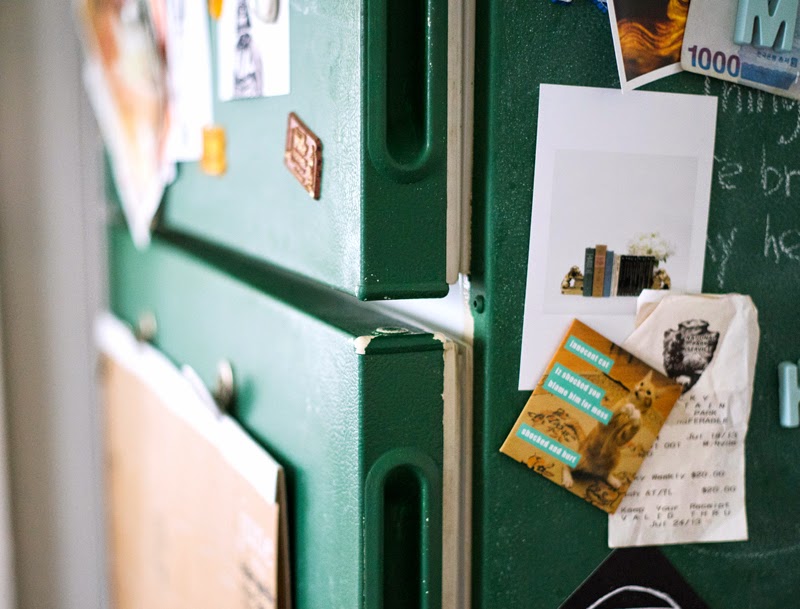
Covered in magnets, pictures, and receipts from our bathroom remodel (lol) but still holding up really well considering how cheaply this was done.
We've had a few people ask us over on our Houzz and a few other places if we are pleased with how it has held up and honestly? Yeah! Really pleased, actually!
The only wear and tear has been the corners of the doors as you can see in this picture:
I don't know if that's where we mostly grab the doors to open them or if that's just where the paint was thinnest.
Either way, I grabbed the leftover paint that I had from two years ago (still good, after a little stir), a small brush and went to work.
I put three coats on over the course of a couple of hours. It dries pretty quickly if you don't put it on too thick. Now it looks pretty much the way it did when we first did this DIY!
So, after 2 years of use, would I recommend that you paint your old fridge with chalkboard paint?
Yes.
I realize that we don't write on it very much but all in all, it has held up exceptionally well.
A lot of people had misgivings about the chalk dust situation but again, we don't write on it much and even when we do there's not enough dust to make a difference in our already not-spotless house ; )
Speaking of chalkboards, I got a little something at the thrift store yesterday that I can't wait to share : )
Oh, and some exciting (to us at least) progress has been made on the Guest Bedroom!
Until next time,
Keep Smiling!


Ooo, I look forward to the guest room update!
ReplyDeleteThanks! It's nothing big...yet. Hopefully the thrift gods are kind to me this week and I have a dresser to share pictures of soon : )
DeleteWhat was the exact color called that you used? I'm going to do this to my ugly black fridge and want to make certain I get the right green.
ReplyDeleteUnfortunately, the color doesn't really have a name. They only make it in black and green and some stores, the Home Depot I believe, can mix a custom color for you. We just went with the green that they had ready to go. Here it is: http://www.homedepot.com/p/Rust-Oleum-Specialty-30-oz-Green-Flat-Chalkboard-Paint-206438/100583427?cm_mmc=Shopping%7cBase&gclid=CP_E5uKOh8ICFQktaQod5KkATA&gclsrc=aw.ds
DeleteI love this post. I found you via Pinterest. Your chalkboard refrigerator is soooooo Awesome!
ReplyDeleteAw, thanks! If I had known the fridge would be so popular, I would have taken some better pics the first time around. Live and learn!
DeleteWas your fridge textured or smooth before you painted it?
ReplyDeleteIt was textured before we painted it! Still using it today!
DeleteRoblox Hair Free Wow amazing hairstyles >>>
ReplyDelete