Thanks to the magic of Facebook Memories™ I woke up this morning to the news that exactly 8 years ago today, we were handed the keys to our house!
I thought that called for a little trip down memory lane and some new pics to celebrate!
Here is what the house looked like when we moved in:
And here it is today!
I really didn't give much thought to painting the trim and soffit last year but in these photos it's like "BAM! 100% improvement!" and it's going to look 200% better when the whole house is done.
And now, for a little (long) trip through the past eight years of home-ownership bliss ; )
As I mentioned, we were handed the keys on April 20, 2009 after a couple of months worth of hemming and hawing with the bank about the lack of heat among other things that come along with a foreclosed property.
With a village worth of help, we put down sod,
painted some interior rooms, and got married in the backyard on July 18, 2009
We wrote our very first blog post on October 6, 2009! It had exactly 0 pictures and an actual list of all of the things wrong with the house. It was written by Conan and you can really feel his "what the h did I just sign up for?" seeping through. But he ended it with ~
"IT REALLY IS A BEAUTIFUL HOUSE."
A few weeks later we gave a long overdue interior tour of the house:
Missing cabinet doors, sagging ceiling, impossible to clean floor and an oven that didn't actually have a 220v outlet behind it. ~Those were the days~
This is the room where mismatched salvation army chairs go to spend the rest of their days, apparently.


In February of 2010, we *finally* got central heating installed in the house
A few months later we learned our first BIG lesson after we hired a fly by night company to replace the roof. It ended fine but it was...a journey to say the least.

For my birthday that year, my dad built the living room shelves that basically made us famous on the internet ; )
Here's what they look like today
Some other things we wrote about that year:
- "Old" photos of our old house
- Heating the house
- Our first offer on the house!
- Removing one of the broken radiators
- New bedroom lighting
- Conan's little red sports car
- More radiator removal
In March of 2011, we started our first major interior renovation with the upstairs bathroom


The whole remodel took just a little over a year to complete. Here's what I wrote about during that year:
- Cleaning up the guest room (round 1)
- Driving to Kansas City to buy an antique sink
- Buying escutchions
-The 1919 trash we found under the stairs in the bathroom
- Refinishing a clawfoot tub
- Moving a clawfoot tub up two flights of stairs
- Turning an old TV cabinet into a linen cabinet
Our big project in 2012 was a tiny budget remodel of the kitchen. If you'll recall, the bathroom had leaked into the kitchen causing those ceiling tiles to droop so we decided to just tear the whole thing down and paint it white.
Here's the before:

And the after:

Maybe the biggest thing in 2012, was the purchasing of our vintage camper and starting up Lamphouse Photo Co.
Here's what the ol' girl looked like almost 5 years ago:

And here's what she looks like today!
Here are some other things we wrote about in 2012:
- Showering in a washing machine drip pan for a year
- Moving a clawfoot tub up two flights of stairs
- Turning an old TV cabinet into a linen cabinet
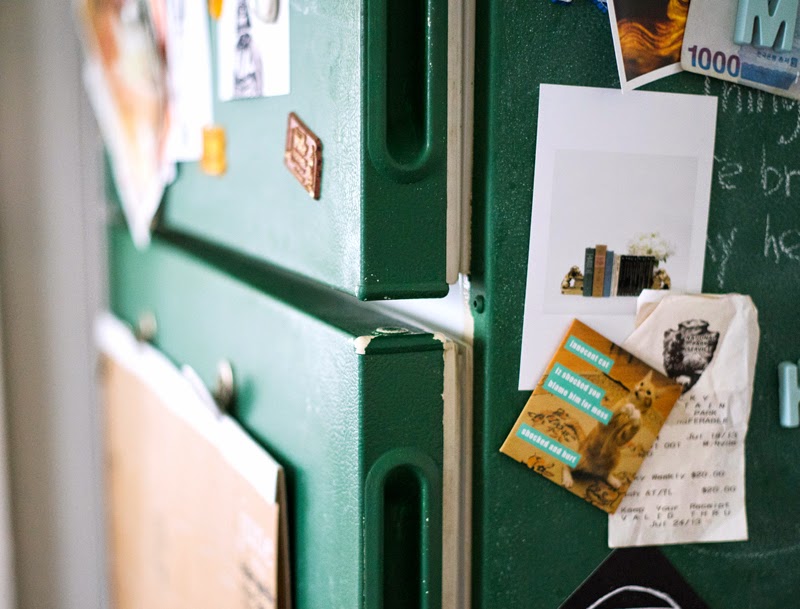
- Painting our old fridge with chalkboard paint
- Refinishing our kitchen floors
- DIY Antique Trouble Lights
- Finding a vintage Roper Stove at a garage sale for $45
- Saving our sash windows
- Being featured in This Old House Magazine
- Our first David Bazan Living Room Show
- Using the 1940 census to learn about our house
- Talking to the granddaughter of the family who lived here 1938-1944
- Being featured on Houzz
- Stumbling upon photos of our house from the late 40s
- Being in This Old House Magazine AGAIN!
- Being given a piano
Our big project for 2013 was the downstairs bathroom, affectionately dubbed the "toilet closet"
Here's what we started with:

And here's the finished product:

Here are a few other things that happened in 2013:
- We gave you guys the deets on our vintage camper plans
- We got a very cool antique camera cabinet
- We added a darkroom to our vintage camper
- Slow decorating
- We refinished our FREE dining room table
- Finding the perfect sink for the toilet closet
In 2014, we did a few little things like sprucing up the guest room to use as an Airbnb:

Visiting Yellowstone National Park


We also did some work on the exterior of the house and added our beloved Birdie Booth to the Lamphouse lineup!
Here are some other things we wrote about in 2014:
- Our second David Bazan Living Room Show
- Replacing the front porch steps
- More chalkboards
Here are some other things we wrote about in 2014:
- Our second David Bazan Living Room Show
- Replacing the front porch steps
- More chalkboards
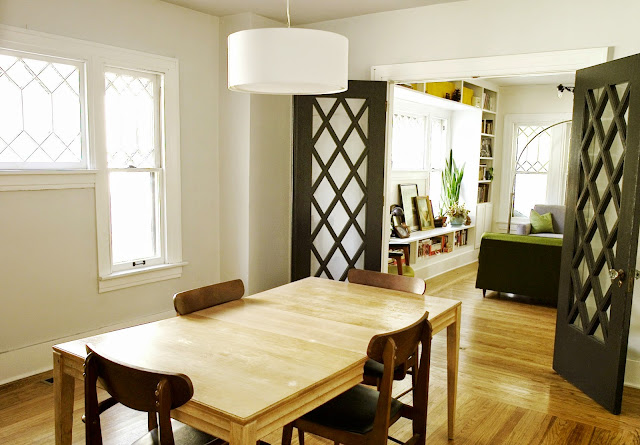
2015 was a pretty slow year for the house but we did manage to add built in shelves to the dining room:


We built a second Birdie Booth to keep up with demand and put a "pool" in the backyard : )

We also got back to the business of painting the house. Picking colors

Climbing around on scaffolding, etc.

In 2017, Lamphouse became our full-time jobs (INSANE!) so that occupies pretty much 24 hours a day, 7 days a week. Still, we're hoping that the house will get some attention this year as well.
This year, our big projects are working on the exterior of the house and installing a privacy fence in the backyard.
A lot has happened in the past eight years and it was a trip to see it all laid out in front of me in pictures! I know we're not the most punctual bloggers but we really did leave a nice record of our time in the house so far.
Thanks for hanging around these past eight years!
Keep Smiling!


